


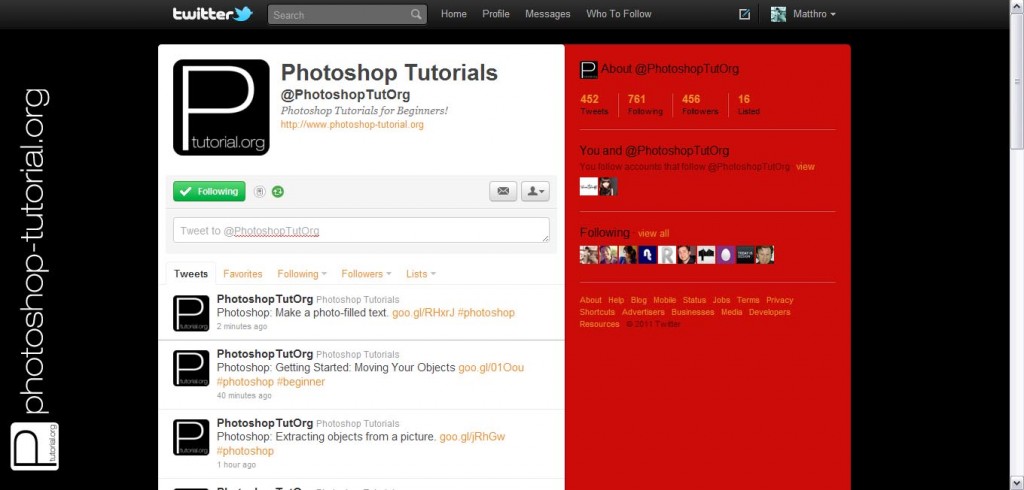
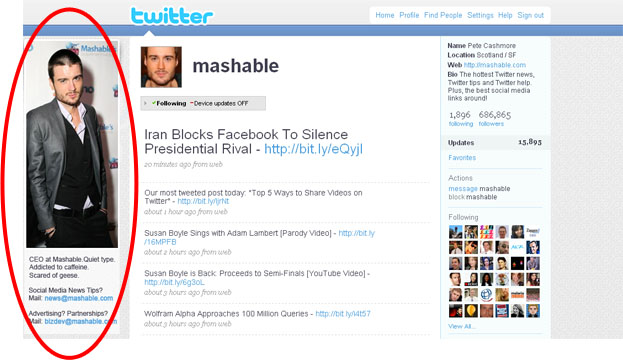
Today, I’ll be showing you how to create your own custom Twitter background, just like the above @PhotoshopTutOrg. Why create a custom Twitter background? There are many good reasons to spend some time to create one. The most common one of course is to express yourself, to ‘decorate’ your Twitter page and make it look nicer. Of course there are much more benefits than just that. Putting your Contact info is great for networking, or if you’re a freelance ‘insert job’ and are looking for more clients, this is a great way to advertise yourself! Spice it up even more by adding some bio information of yourself, your achievements and experience, and much more. Check out the example below, of @Mashable. Circled in red is the Sidebar.
This tutorial is only if you want to personalize a sidebar at the sides of your page. If you simply want a solid color, a photo or repeating pattern as the background, you can simply change the background image at Twitter’s profile settings.
Preparation:
You might want to think how you want your background to be designed, brainstorm about ideas/themes/colors that reflect your personality, or your company/brand/image.
This tutorial was done on Adobe Photoshop CS5. Other versions may vary slightly.
Step 1:
Open a new document, via the Menu Bar: File < New and create a width:200pixels x height:600pixels document, in 72pixels/inch. The reason for using a low resolution is we want the background to load quickly. This entire canvas will be your Sidebar in your twitter profile page.

Step 2:
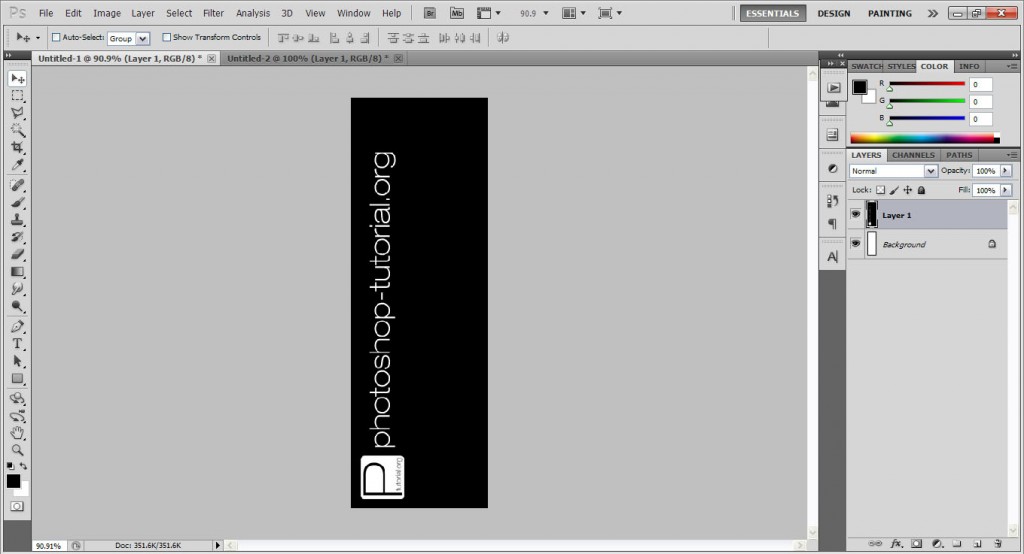
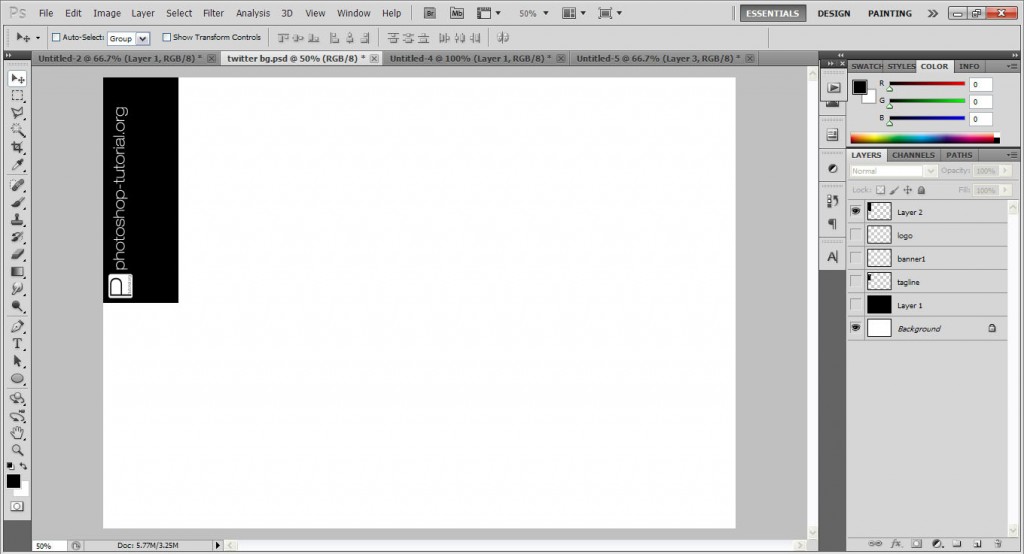
The sidebar is basically where you design and customize what you want your followers to view on your profile page! As introduced earlier on, it’s a great place to put extra information you want your followers to see, like bio information, contact info, achievements/experience, other links, and more! For me, I’ll just be putting my PhotoshopTutorial logo-banner. It’s pretty long horizontally and obviously it’s not gonna fit into 200px worth of width, and it will be too small if scaled down to fit horizontally. So I’m just gonna flip it up and put it vertically, nice and snug.
NOTE: Just design all the important elements that you want such as text or logos or images. Leave the background as transparent by hiding the background (click on the eye beside the background layer). The background should be checkered white and grey boxes if its transparent. The reason why it is black below is to show you the artwork clearly.
Once you’re done, simply save your design as a psd file.
Step 3:
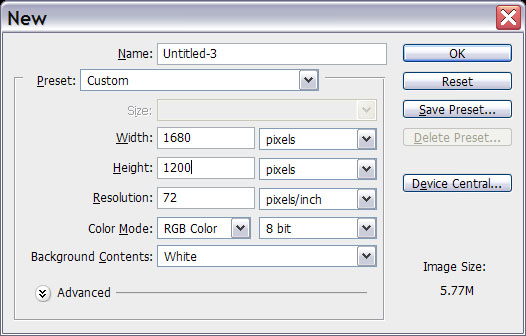
Now create a new document again, this time width:1680pixels x height:1200pixels, at 72pixels/inch. Don’t be intimidated at the huge resolution, it’s basically to cater to people with big monitor resolutions. Ultimately, the end result view will depend on the end-user’s monitor resolution, NOT your background. If they use a very small resolution, some of your background or sidebar might be cropped off. If they use a very huge resolution, your sidebar might look smaller than usual. But the values I have provided should cater to the normal bulk of people and should look fine.
Step 4:
Once done, now you’re going to bring your design earlier on and place it in this document. There are a number of ways to do so, like copy and paste, dragging it over to the new document, or if you’re totally clueless, you can go to Menu Bar: File > Place > Your-design-file. The important thing here is to make sure the design is all the way to the top left. To illustrate this, I have placed my design over a white background so you can see how it is supposed to be placed. I’ve
Step 5:
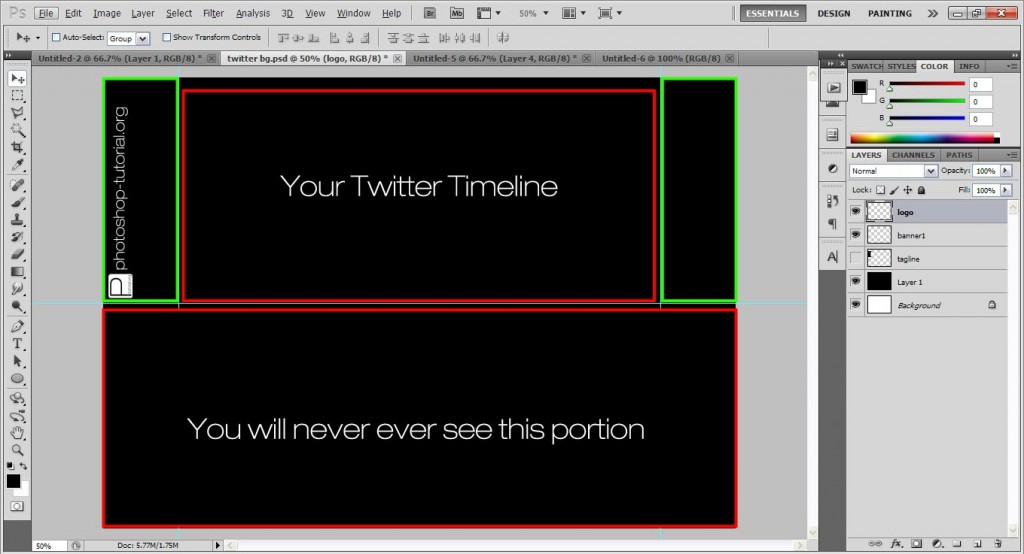
Now we’re going to change the color of the background. Depending on your design and colors, change the background of the bigger document accordingly. Obviously mine will be all black so not a problem for me. If you want to have a gradient background or a repeating pattern background, no problem, but remember that only the sidebar and a little bit of the right side will be shown. So avoid putting important images (like faces in photographs) in the middle as your Twitter timeline will cover it. This simple diagram I made will show you the parts that will be seen. The green boxes will be visible, the red will not. NOTE: This is correct as at November 2011. Should Twitter change its layout I will strive to update this tutorial asap.
Once done, save your document as a jpeg file. (Menu Bar: File > Save As > designtitle.jpg)
Step 6:
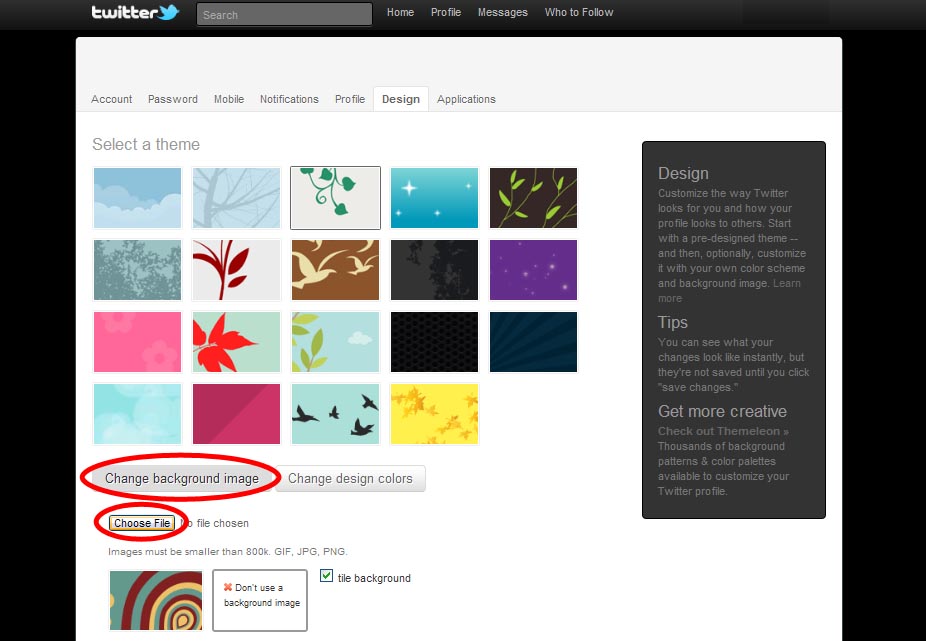
Go to your Twitter account, go to Settings, then Design, then Click on Change Background Image and Choose Image. Select your saved design and give it awhile to load. Your new Twitter page should be ready!
Need Help With Photoshop or Looking for Professional Support?
Whether you're just getting started with Photoshop or need expert-level assistance, we're here to help! Contact us for personalized Photoshop tutorials, project support, or creative services.
Get in touch today to take your skills or projects to the next level.
CONTACT US NOW📘 Want to Master Photoshop Faster?
🎁 Get Your FREE PDF E-Book "Top 10 Photoshop Tricks Every Designer Must Know" Now – Packed with expert tips, shortcuts, and techniques to boost your creativity & workflow.
👉 Download Your FREE PDF E-Book NOW!
