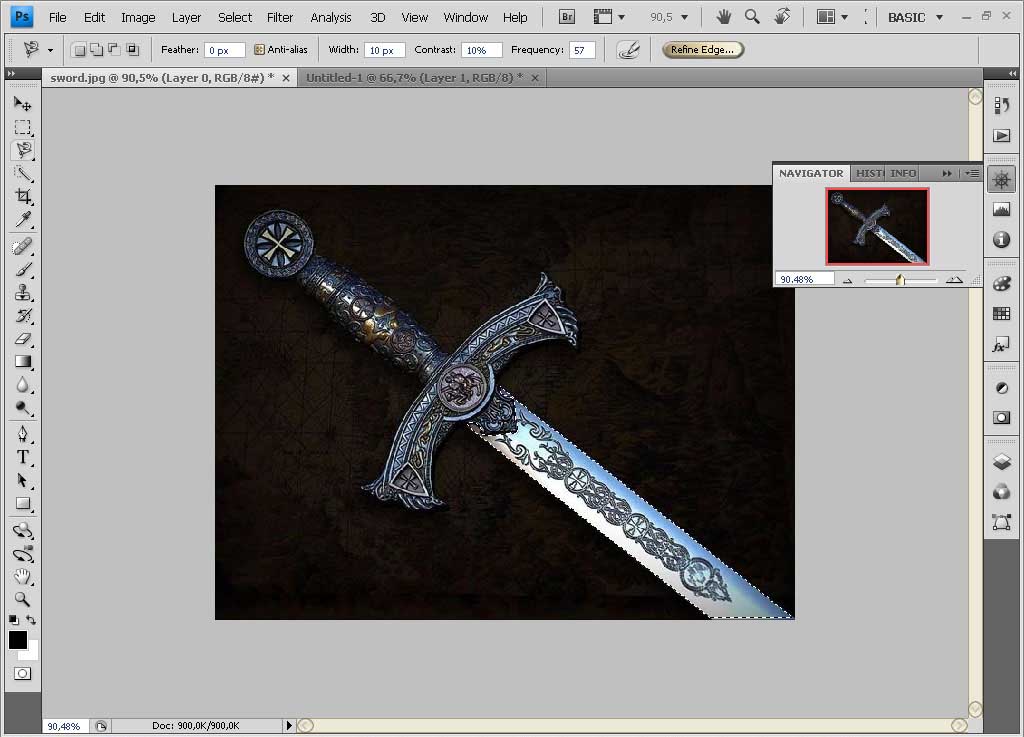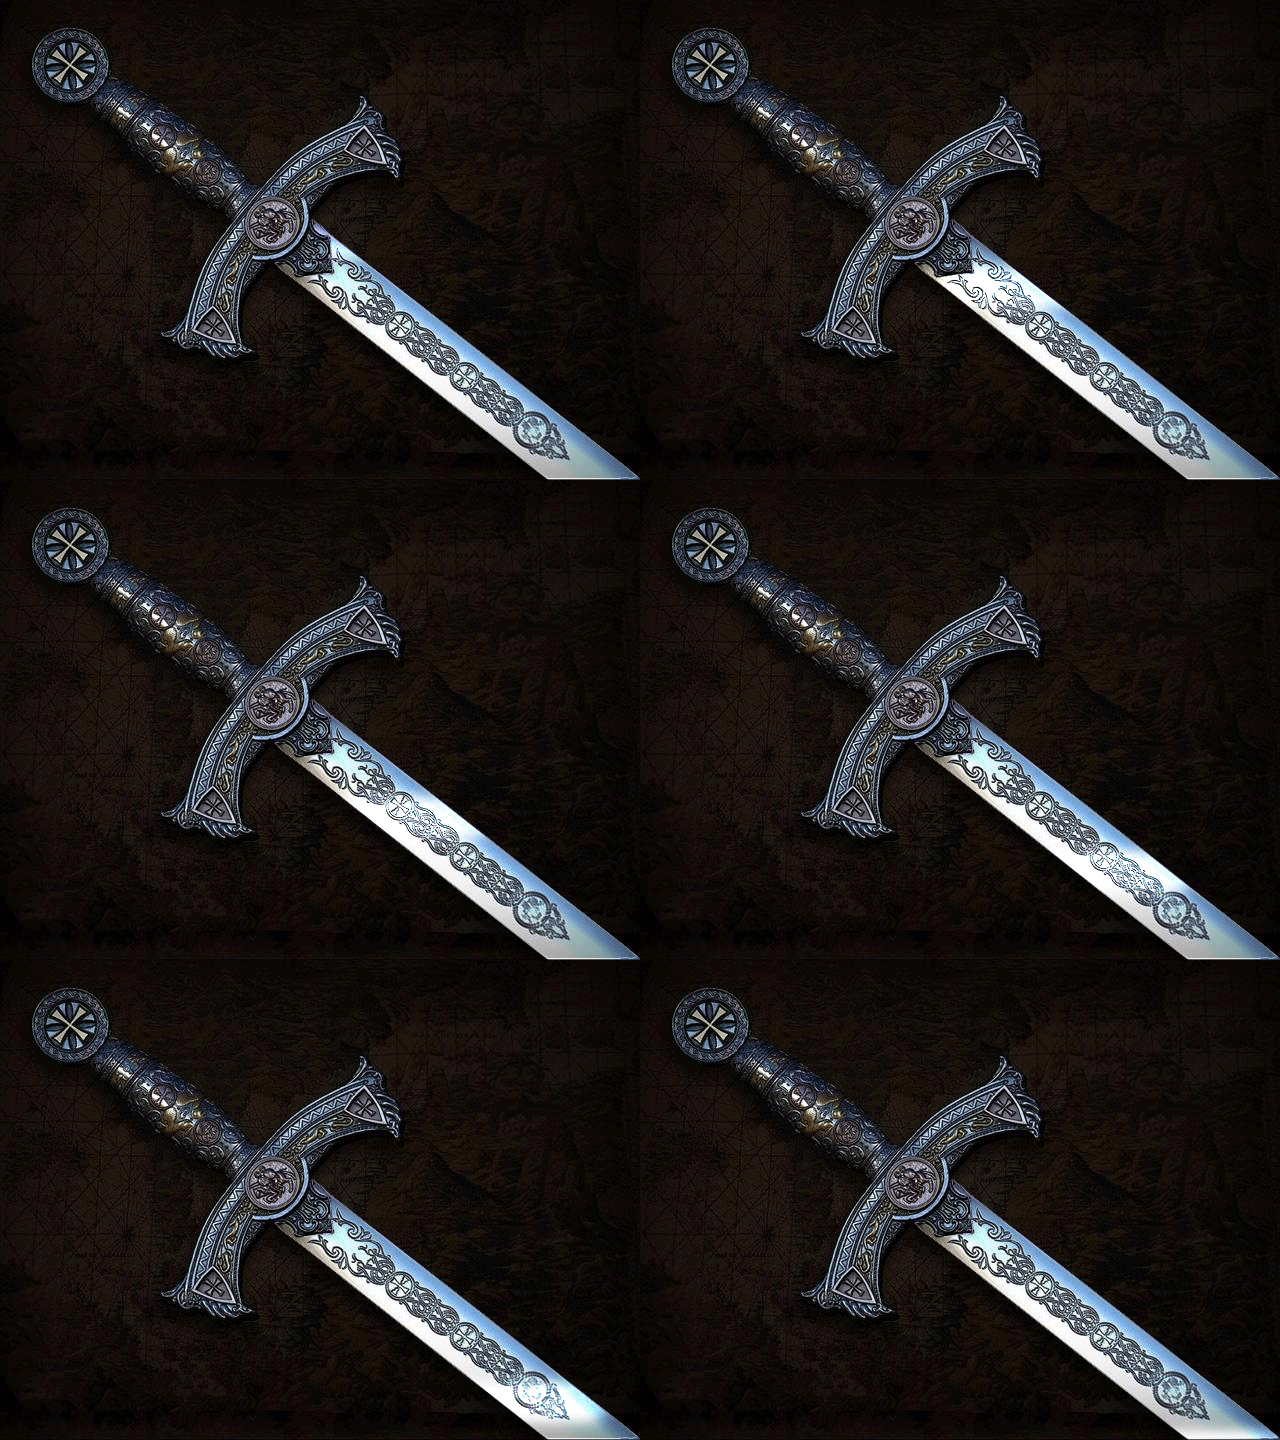
Check out this awesome tutorial on how to make a sword gleam, showcasing some nice reflective light effects!
Preparation:
As this tutorial is not written by me, but a volunteer, there won’t be the normal ‘step-by-step’ diagrams in the screenshots, and less explaining as you are required to have some Photoshop knowledge for this tutorial. Apologies for any inconveniences caused!
Step 1:
Open image with a sword. You may use the one provided for the tutorial over here.
Step 2:
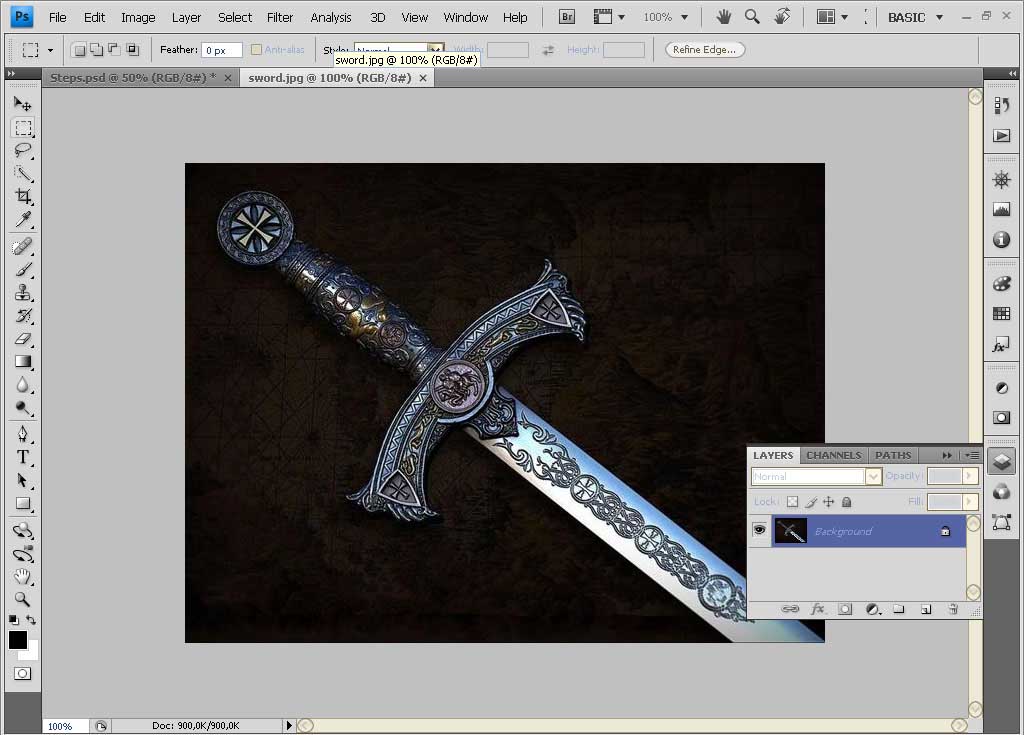
Label/rename the sword layer as “1”. Then outline the blade of the sword with Magnetic Lasso tool, or any outline tool of your choice like Polygonal Lasso tool.
Step 3:
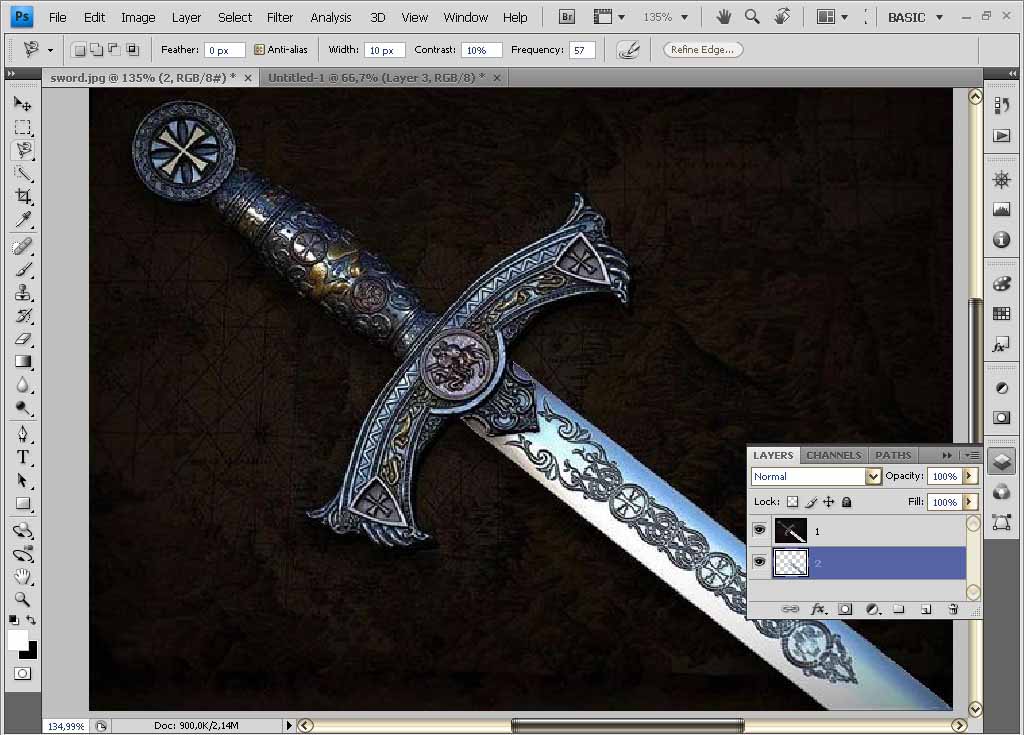
Then press Shift+Ctrl+J (Shift+Cmd+J), or go to Menu Bar: Layer > New > Layer via Cut, to cut and paste the outline to a new layer, then name this layer “2”. Make sure the layer with the blade outline (2) is under the layer with sword (1).
Step 4:
Create a new layer and draw a line with soft brush using White, like this. Make sure this layer is between the layer with blade outline and the layer with sword.
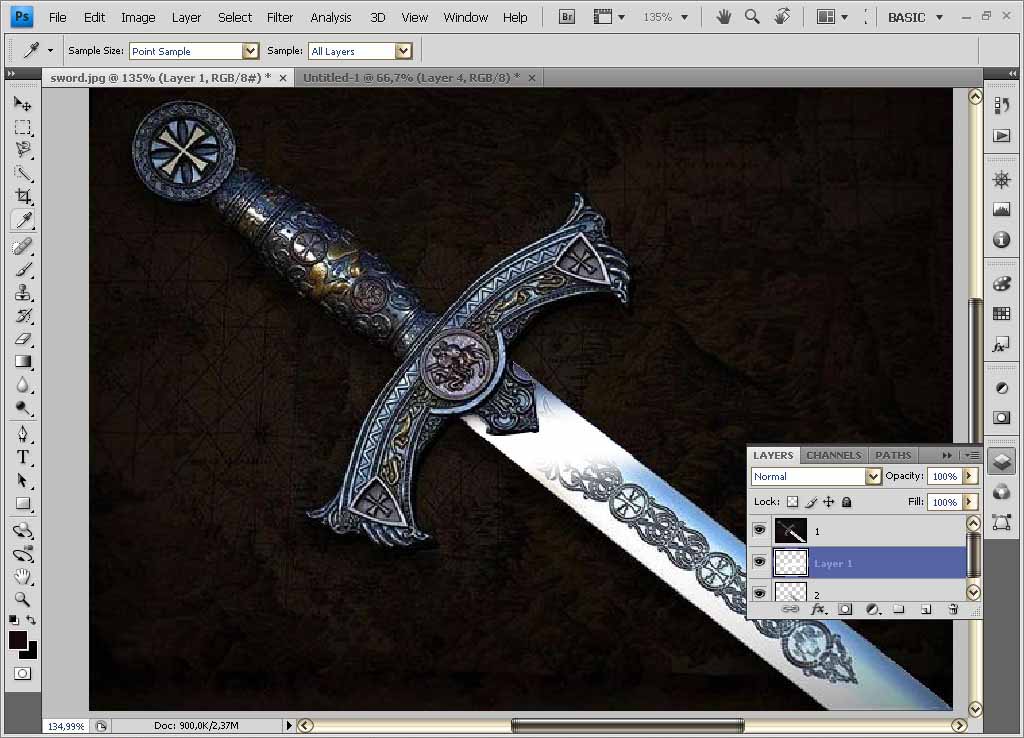
Step 5:
Then, use the Overlay blending mode for this layer.
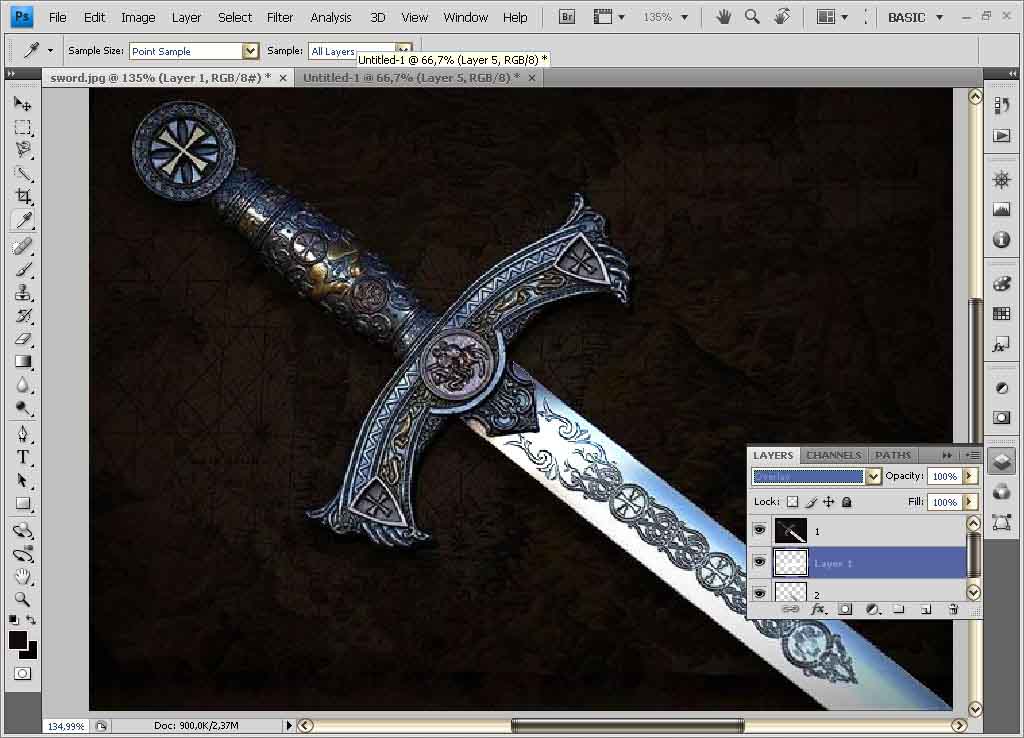
Step 6:
Now that we have done the ‘shining’ part of the blade, we need to move that ‘white line’ we just drew earlier, up to the top of the blade. Basically move it to the part where the blade meets the handle. This is because we want the gleaming animation to start off from the top, and slowly move all the way down to the tip of the sword.
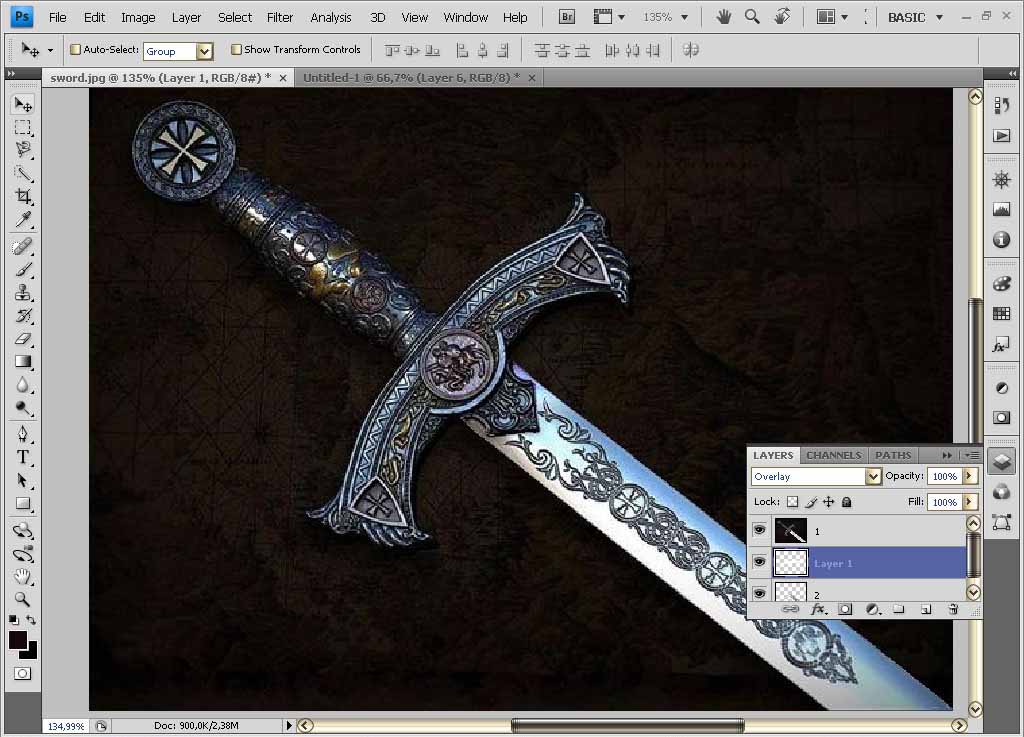
Step 7:
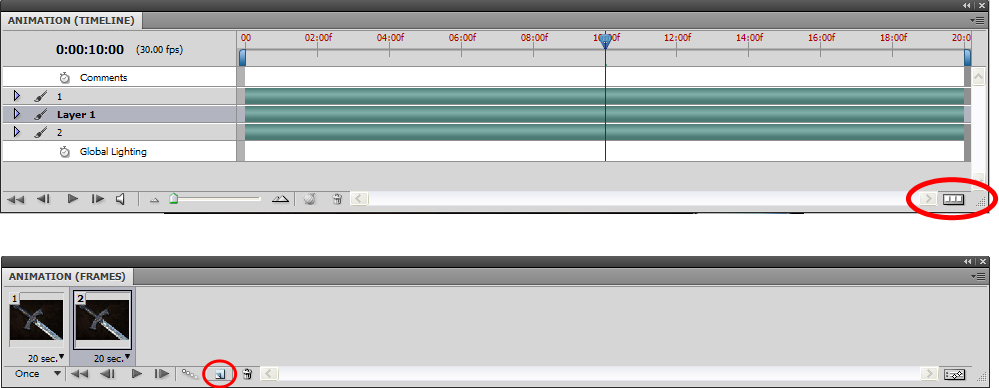
Go to Window> Animation. If you don’t see the Frames window but the Timeline window, simply click the frame icon at the bottom right. Then press Duplicate frame (the icon beside the trash bin). Now select your duplicated frame layer, and move the white gleam all the way down to the bottom of the sword, or wherever you want the reflection to end.
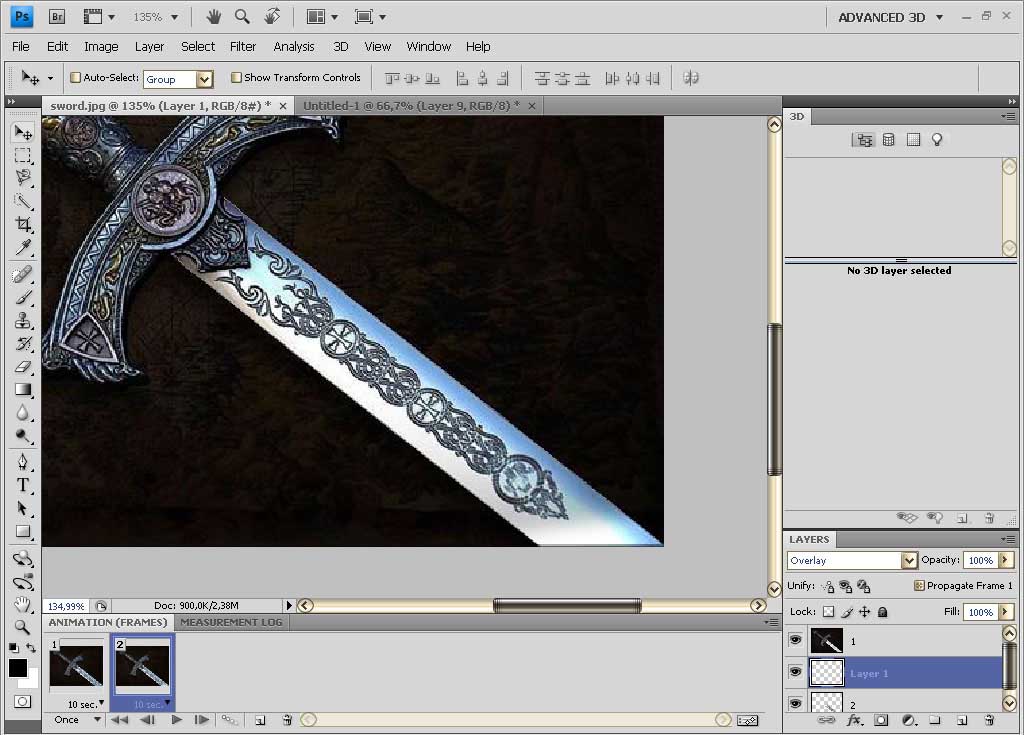
Step 8:
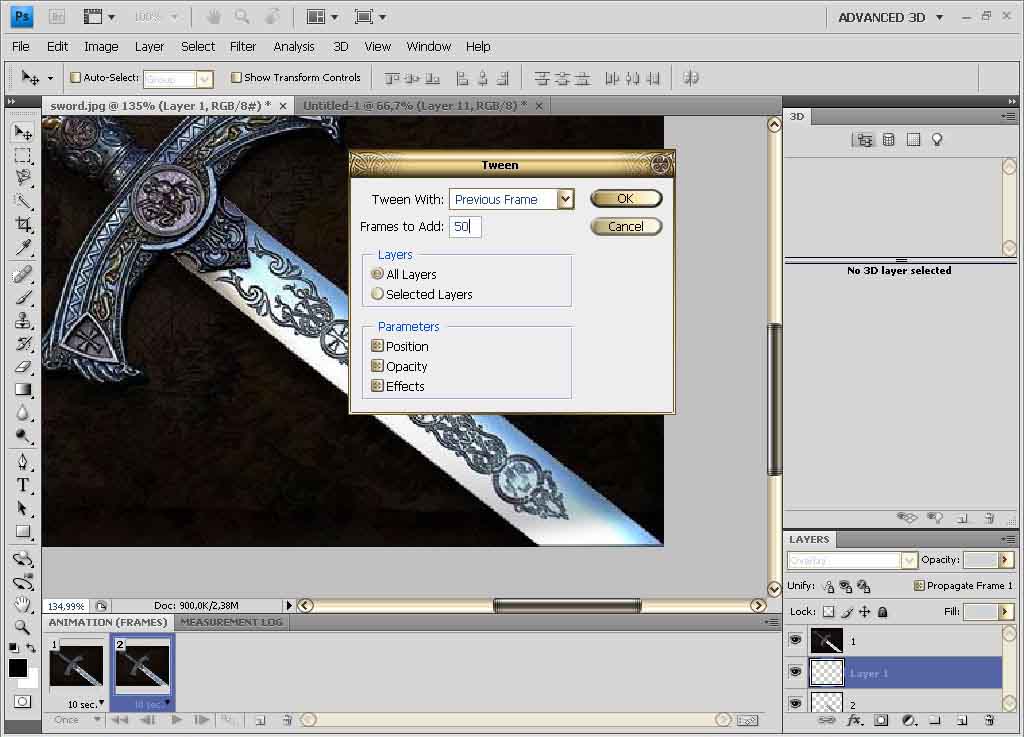
Press the button Tweens animation (the icon beside the duplicate layer icon, the one with many circles in a line) frames and set Frames to add: 50.
Step 9:
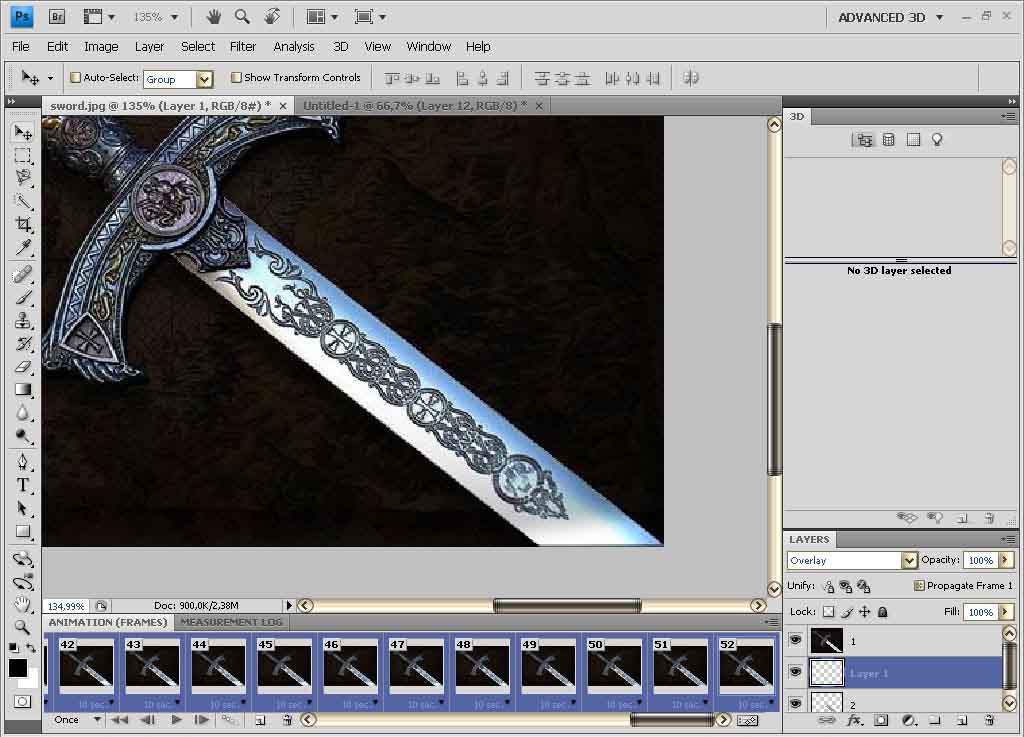
Select all frames. An easy way to do this is click on the first frame, then scroll all the way to the last frame, and click the last frame while holding shift.
Step 10:
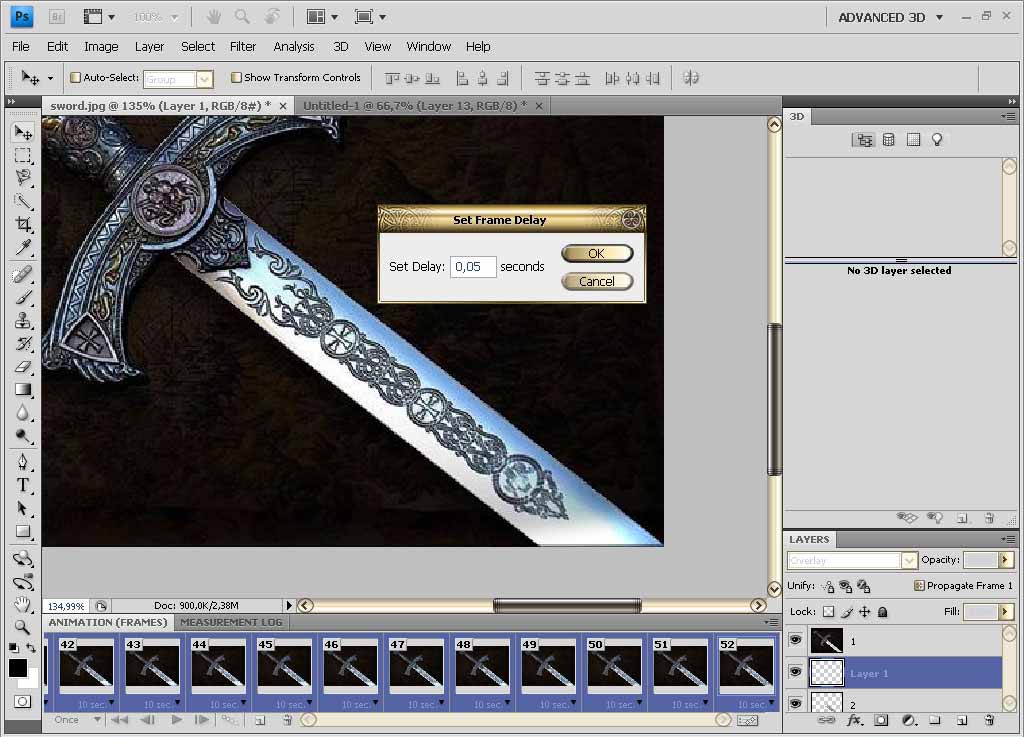
See a time with a black arrow down at the bottom of every frame? With all frames selected, click the black arrow down, and click “Others”, and then set delay time to 0.05 seconds. You can actually preview the animation by pressing the “Play” button at the bottom. If you like what you see, go on to the next step.
Step 11:
Now we’re gonna save it. Go to the Menu Bar: File > Save for Web & Devices. At the top right, make sure GIF format is selected. This is very important as only gif files will support animation. You won’t see any animation if you save it as a jpeg file. At the bottom, you will also see Looping Options. Select Forever if you want the animation to keep repeating, or just once if you so desire. Once saved, you usually need to open your picture with a web browser (such as Internet Explorer or Google Chrome), as most image viewers won’t show you the animation. (right click the picture and “Open with..” and select browser)
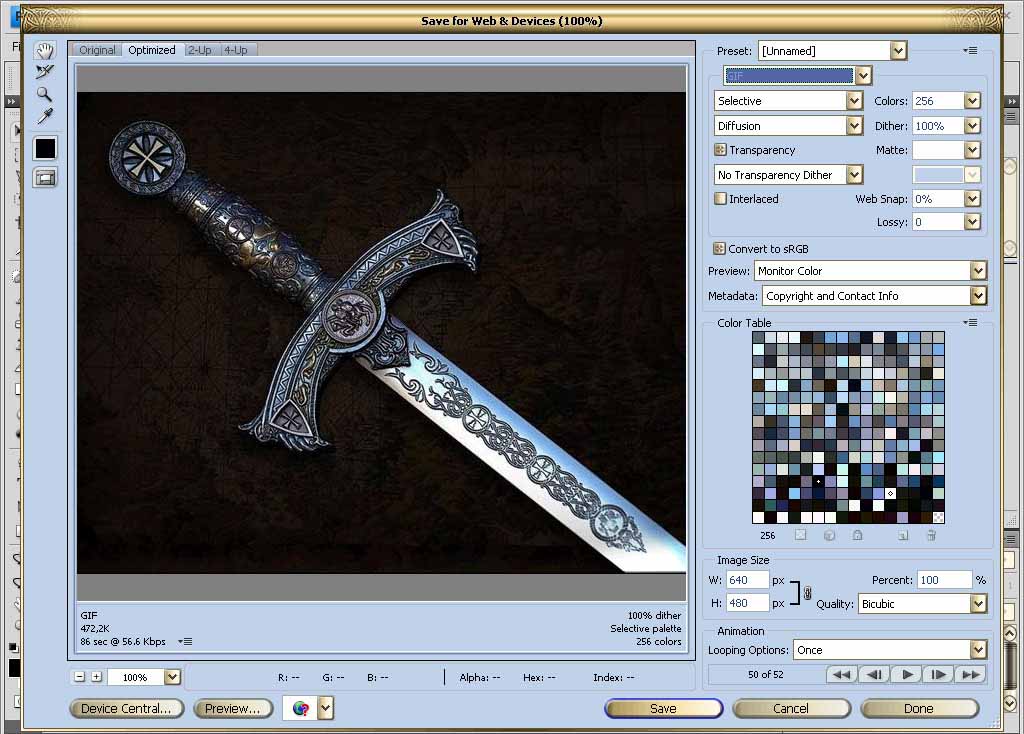
Final result:

Need Help With Photoshop or Looking for Professional Support?
Whether you're just getting started with Photoshop or need expert-level assistance, we're here to help! Contact us for personalized Photoshop tutorials, project support, or creative services.
Get in touch today to take your skills or projects to the next level.
CONTACT US NOW📘 Want to Master Photoshop Faster?
🎁 Get Your FREE PDF E-Book "Top 10 Photoshop Tricks Every Designer Must Know" Now – Packed with expert tips, shortcuts, and techniques to boost your creativity & workflow.
👉 Download Your FREE PDF E-Book NOW!

