


In this tutorial I’ll show you how to add easy effect to your photos in Photoshop. You’ll learn how to turn your ordinary images into an interesting one using these tips. We’ll be achieving a soft glow effect using adjustment layers and by painting lights. Follow along with the tutorial and learn how to make your photo sharp!!
Tutorial Resources
Step 1
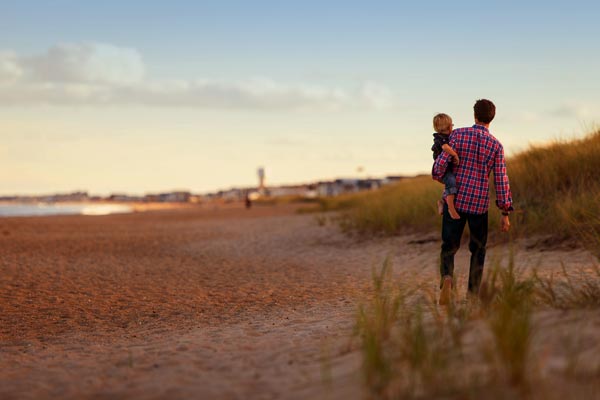
Open up the father and child in Photoshop by selecting File > Open and open it up. You can use your own photos but make sure it has decent light and contrast.
Here is the image opened in Photoshop:
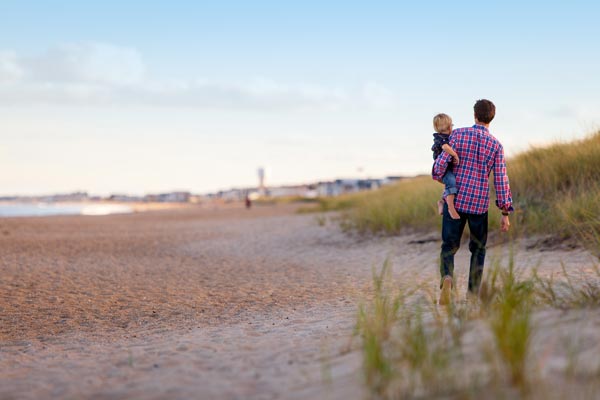
The image has a depth of field as well you can add depth to your photo using Gaussian Blur filter. The trick is simple just apply the blur filter to your image and then keep the blur effect at the bottom area.
Step 2
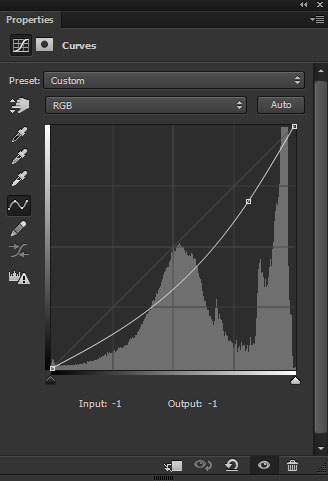
The image has decent light and we can add many effects to an image using adjustments layers. First, I added a Curves adjustment layer to darken the image little bit. You can make an adjustment layer by clicking on the third icon at the bottom of the layer panel.
Here are the settings:
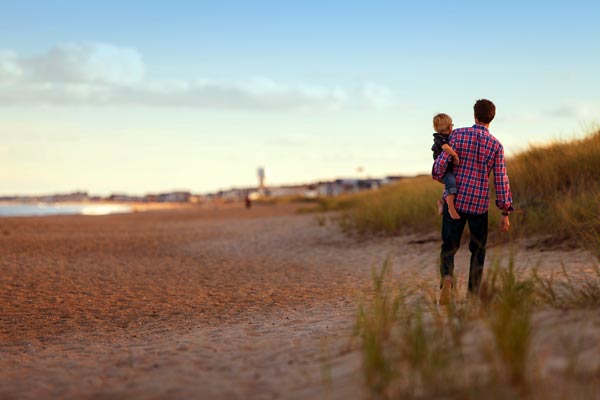
Here are the results:

You can notice the image is now dark like the feeling of the sunset.
Step 3
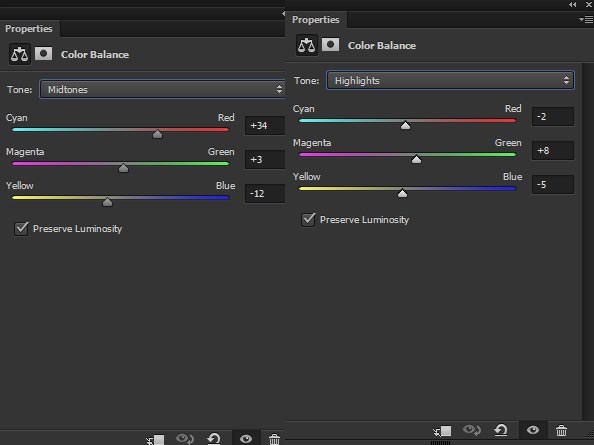
In this step, I added some yellow and red color tones to the image using Color Balance adjustment layers. The will add soft sunset golden color to the image.
Here are the settings for Midtones and Highlights :
Results:
Step 4
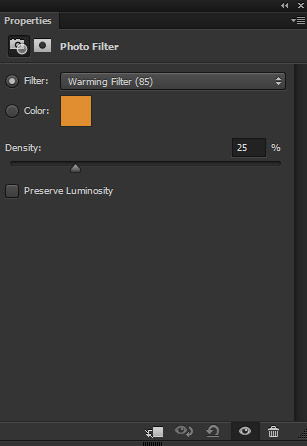
I used Photo Filter adjustment for adding more warm tones to the image. I used the default filter Warming Filter (85) with 25% Density.
Results:
Step 5
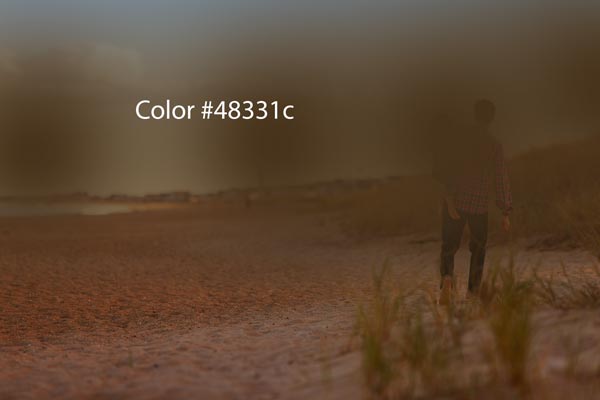
Now we’ll add the soft lights coming out from the sky. Create a new layer by pressing CTRL + SHIFT + N. Activate the Brush Tool (B). Set the foreground color to dark yellow, I chose #48331c, and use a soft round brush for painting lights as shown below. You can see the below image for reference. There is one more thing to remember that feel free to paint light wherever you want but don’t overdo it. You can see the I only applied 4-5 brush strokes for the lights.
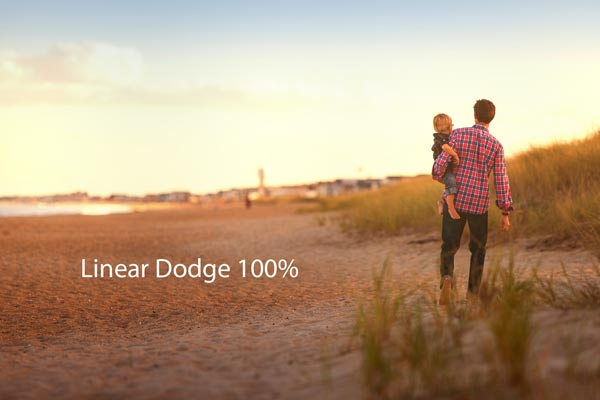
Set the blending mode to Linear Dodge 100%. Here are the results with soft glowing lights:
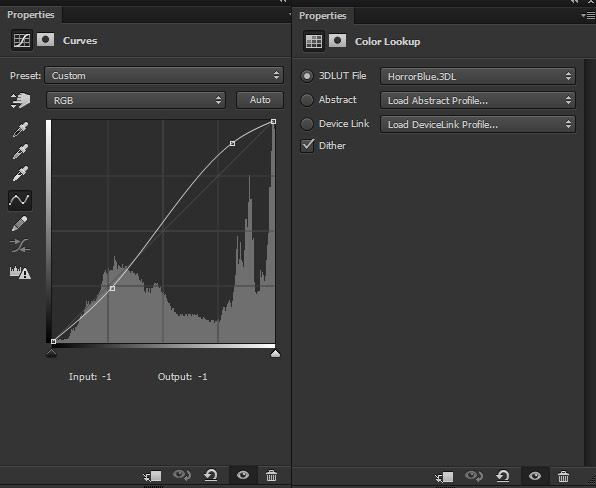
Step 6
Finally, I used the Curves and Color Lookup adjustment layer for finishing touches. Using Curves I increased the contrast of the image and the Color Lookup adjustment layer will add the brighten green tones to the image.
Here are the settings for both adjustment layers:
Final Results:

Conclusion
Thanks for following the tutorial and I hope you like the tips and tricks. If you have any feedback on tutorial then do comment and wish you all Happy New Year 2017!!
Need Help With Photoshop or Looking for Professional Support?
Whether you're just getting started with Photoshop or need expert-level assistance, we're here to help! Contact us for personalized Photoshop tutorials, project support, or creative services.
Get in touch today to take your skills or projects to the next level.
CONTACT US NOW📘 Want to Master Photoshop Faster?
🎁 Get Your FREE PDF E-Book "Top 10 Photoshop Tricks Every Designer Must Know" Now – Packed with expert tips, shortcuts, and techniques to boost your creativity & workflow.
👉 Download Your FREE PDF E-Book NOW!
