
In this tutorial, we will be learning how to give a nice reflection to your text.
Preparation:
Depending on the font you use, this tutorial may or may not work. It works best on font which are evenly aligned and spaced, so don’t use fanciful fonts if possible.
This tutorial was done on Adobe Photoshop CS5. Other versions may vary slightly.
Step 1:
Create a new document, with the dimensions totally up to you, depending on how big you need your text to be. From the Menu Bar, go to File > New, and enter your dimensions. If you’re unsure of what you want, you can simply put width: 17cm and height:12cm.
Step 2:
Next, click the Text tool, drag a box over in the white canvas space, and type your required text. In my example, I’m using the font Century Gothic, size 69.

Step 3:
We will now duplicate the text layer you have just made by right clicking the text layer (at the Layer menu at the bottom right), and selecting Duplicate Layer. Or you can just press Ctrl+J or Cmd+J.

Step 4:
Select the duplicated layer, and press Ctrl+T or Cmd+T to bring up the Transform menu, and then select Flip Vertical. Alternatively you can go to the Menu bar: Edit > Transform > Flip Vertical.

You should end up with something like this:

Step 5:
Make sure your duplicated layer is selected, press V (the move tool) and move it down until the two text almost touches and look symmetrical. For more precise little movements, you can also use your keyboard arrow keys (up, down, left, right) to move the text.

Step 6:
Still making sure your duplicated layer is selected, click the Add Layer Mask at the bottom of the Layers menu, as shown in the illustration below. Then click the Gradient tool at the left.

Step 7:
After you have selected the Gradient tool, at the options bar at the top, click on the arrow down (where the gradient of black fade to white is), and select the first type. Don’t worry if the color isn’t the same as mine for now. Next, let’s make sure the foreground color is white, while the background color is black. A simple way to do this is simply press D. What this does is reset the foreground and background colors to white and black respectively. Also, make sure Reverse is unchecked. Once that’s done, click once in the middle of the two text layers, and drag down to about 3/4 of the lower text.

Step 8:
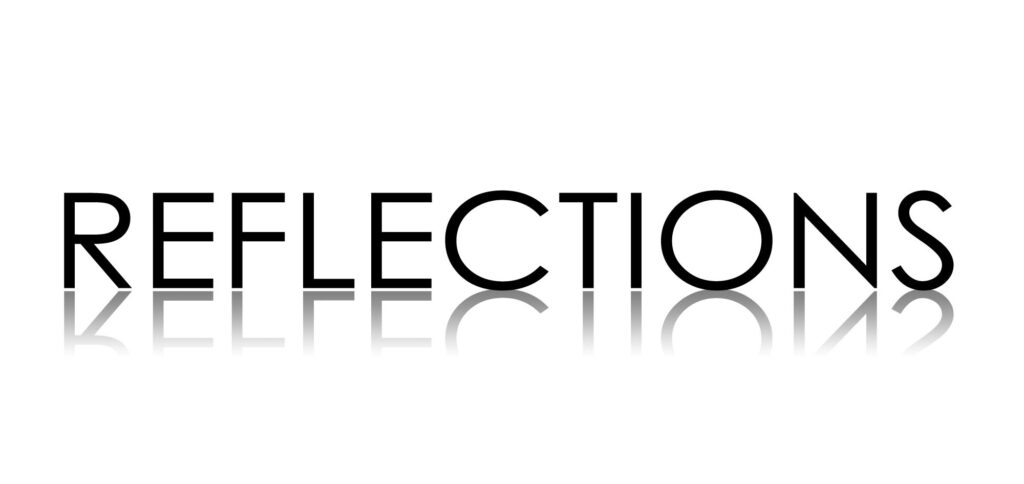
Next, simply change the opacity of the ‘reflection’ to your desired preference. For my example, I reduced it to 50%. Make sure you have the duplicated text layer selected when doing this, or you will change the opacity of the top text.

And there we go, our very nice reflective text!