

In this lesson, I’ll show you how easy it is to produce Golden Text within minutes, just using layer styles. Good stuff for beer posters and adverts hehe.
Preparation:
None.
This tutorial was done on Adobe Photoshop CS5. Other versions may vary slightly.
Step 1:
Create a new document. You may use the same settings as me, shown below. I usually create ‘larger than needed’ dimensions so that I don’t lose quality if I should ever need my final image to be bigger. Always better to have bigger image and then scale down to your preferences, rather than having too small an image, wanting to scale it up and lose quality.
Step 2:
Press D to reset the foreground/background colors to black/white. Now this part is optional, but because the gold effect looks much more awesome on a black background than a white, we’re gonna fill the background to black right now. Press Alt+Backspace (Opt+Delete) to make it black.
Step 3:
Select the Text Tool, and select your font, size, style, etc. The colour doesn’t matter for now, we’ll be changing that soon, so white will do. Then drag a text box on the background and type your text. For my example, I am using the simple Times New Roman at size 269. Note: The effect will vary with the font used. For eg, if you decide to use a thicker font, the bevel and emboss settings for my thin font may not work for you. Hence, you can either choose to use a thin font, or play around with the settings to see what works for your thick font. Remember, there is no right or wrong here, it all boils down to what you like.
Step 4:
Double click on your text layer. The layer styles will pop up.
Step 5:
Now we’ll be adding the effects. Follow the settings below. Again, if you are using a different font /font size as me, your effects might vary. I suggest you try playing around with the settings I mentioned to see if you can try to get the same effect as I did.
The first thing we’ll do is change the color. Tick the Color Overlay. Make sure you select it by click on the words itself to see the options for it (Color Overlay at the left sidebar will be highlighted in grey if you have correctly selected it). Select a orange-brown kind of color, depending on what kind of ‘gold’ effect you want. Or you can follow my example by typing the RGB values in the box 222, 188, 0, as shown in the example.
Step 6:
Now check Bevel and Emboss. You can follow the same inputs as me in the example below. Info: About Contour — This setting basically changes how the gold will look like, its shine and gloss etc. If you click the arrow down to open a menu, you will see different variations of contours. There is no right or wrong, simply click on each to see which you like best. For my example I’ll be choosing the second one, which looks like a hill.
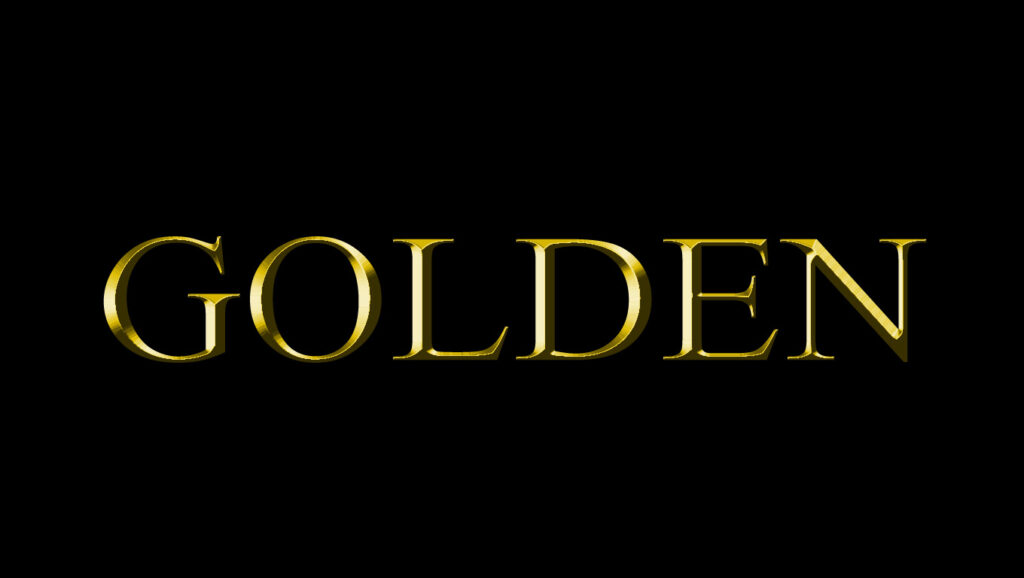
Once done, hit OK and you should get a nice golden text.
Note: To get a silver text instead, or whatever other color you may want, simply change the colors at Step 5. For silver, try a color tone somewhere between white and grey, or you can also put in the RBG code 200,200,200.
Need Help With Photoshop or Looking for Professional Support?
Whether you're just getting started with Photoshop or need expert-level assistance, we're here to help! Contact us for personalized Photoshop tutorials, project support, or creative services.
Get in touch today to take your skills or projects to the next level.
CONTACT US NOW📘 Want to Master Photoshop Faster?
🎁 Get Your FREE PDF E-Book "Top 10 Photoshop Tricks Every Designer Must Know" Now – Packed with expert tips, shortcuts, and techniques to boost your creativity & workflow.
👉 Download Your FREE PDF E-Book NOW!