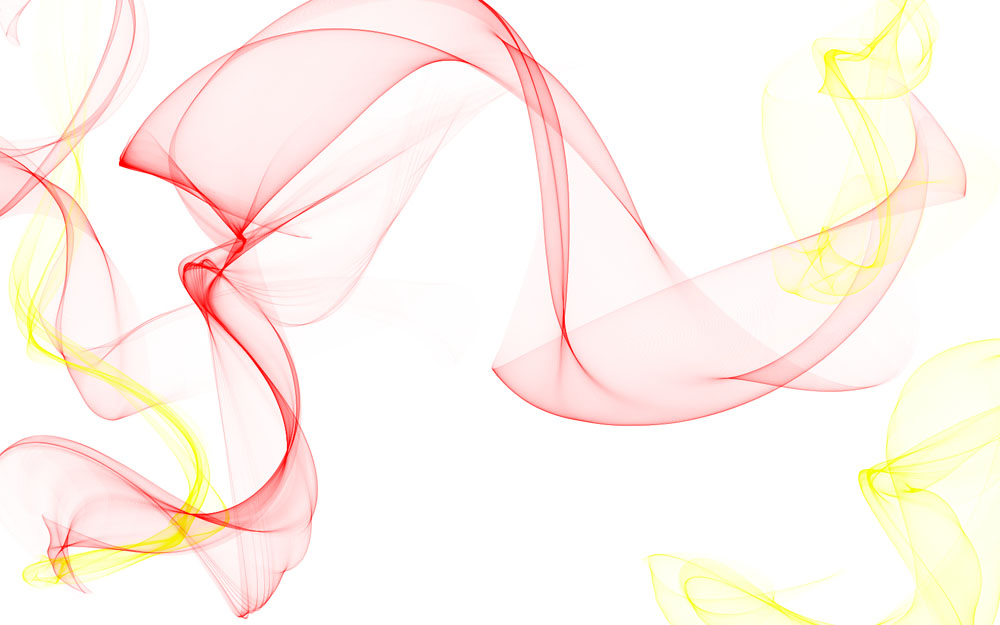
Custom Photoshop Brushes bring in a whole new world of design and possibilities. There are numerous effects and artwork that custom brushes bring to you, from smoke, fire and cloud effects, to blood splatters and abstract art. You don’t have to be a pro designer to ‘paste’ designs, and that’s what Custom Brushes do! You simply download any that you like, install it into Photoshop, and use it as a normal brush!
Preparation:
First thing you gotta do is have your custom brushes downloaded, extracted and ready to install. Remember where you saved the files to! You may go to the Useful Links section (on the right sidebar) to browse Custom Brushes and download from there.
This tutorial was done on Adobe Photoshop CS5. Other versions may vary slightly.
Step 1:
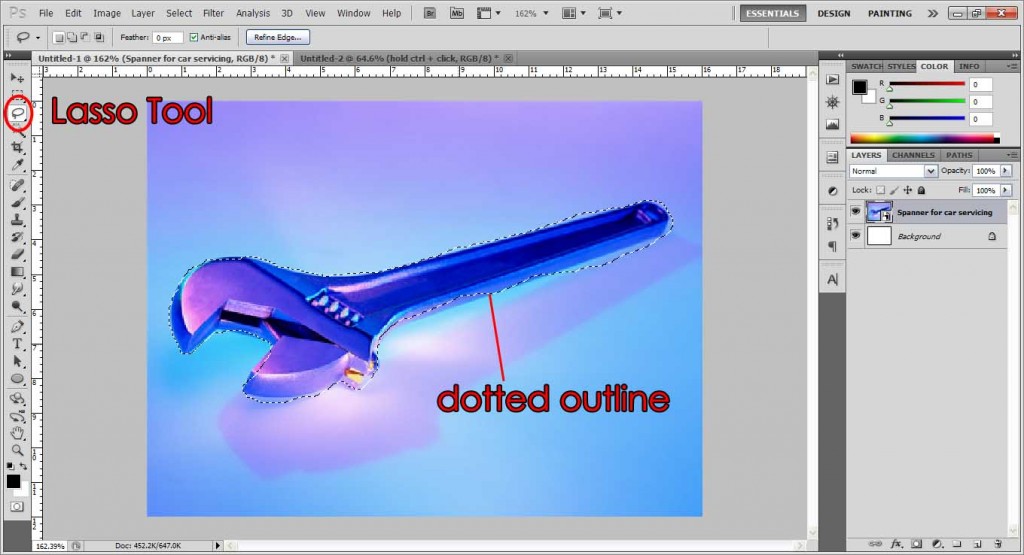
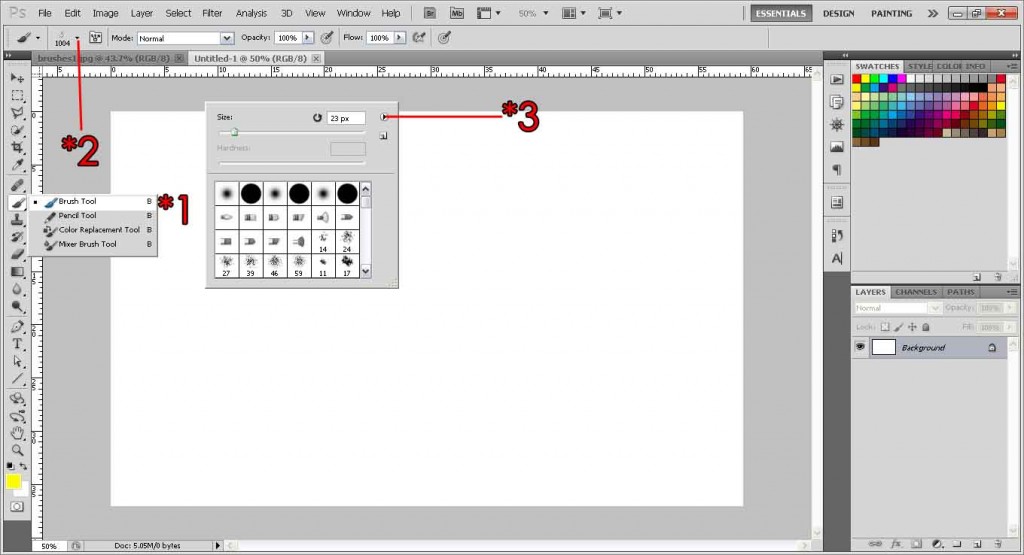
Select the brush tool.
Step 2:
Click the black arrow down to access the brush type box (see example above).
Step 3:
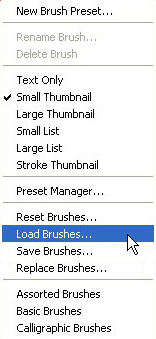
Click the small black arrow to access a menu full of options. Select “Load Brushes”, navigate to the place where you saved your downloaded brushes and select them.
If you don’t see your brushes anywhere, first make sure you are in the correct location. If yes, then make sure the brushes have already been extracted out from its zip, otherwise they won’t be shown at the “Load Brushes”. In my example picture right at the top, the one with the yellow and red smoke effect, I am using Revnart Smoke brushes, which can be downloaded here.
Step 4:
After loading the brushes you should see your new brushes at the bottom of the list. Yippee!
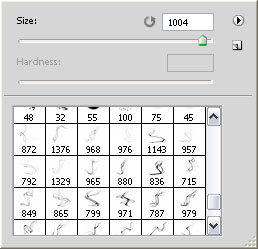
Select any one of them, adjust the brush size and your desired color (from the foreground color) and play around! Use them to spice up your work/school projects, blogs, etc!
Some examples of what you can do:
