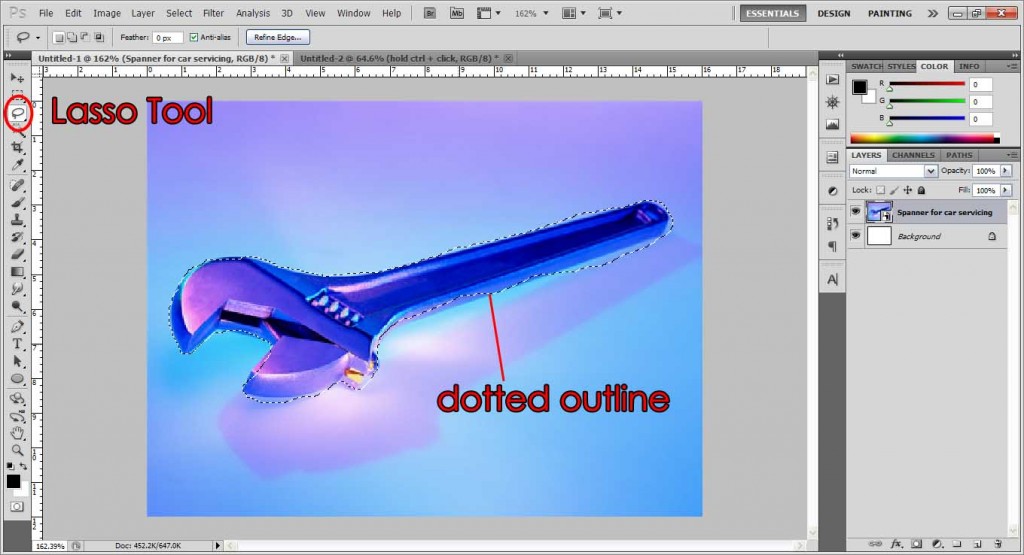
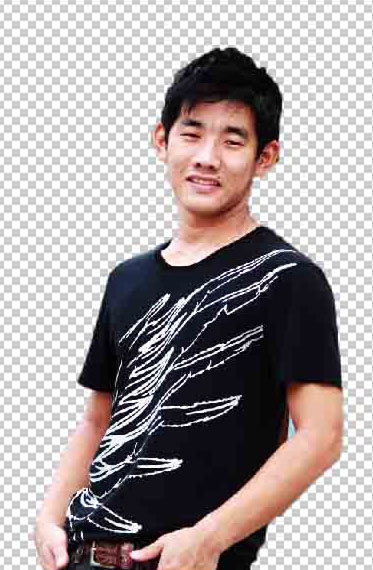
 You will often want to separate a person or an object from a background or photo so that you can use it in another background or photo. In this tutorial, I will show you how easy it is to extract them out!
Preparation:
Open your image first by going Menu Bar: File > Open > select image or simply drag it into the Photoshop workspace.
This tutorial was done on Adobe Photoshop CS5. Other versions may vary slightly.
Step 1:
Duplicate layer as a safety measure. Simply click the layer and press Ctrl+J(Cmd+J), or right click the layer and click Duplicate Layer.
Step 2:
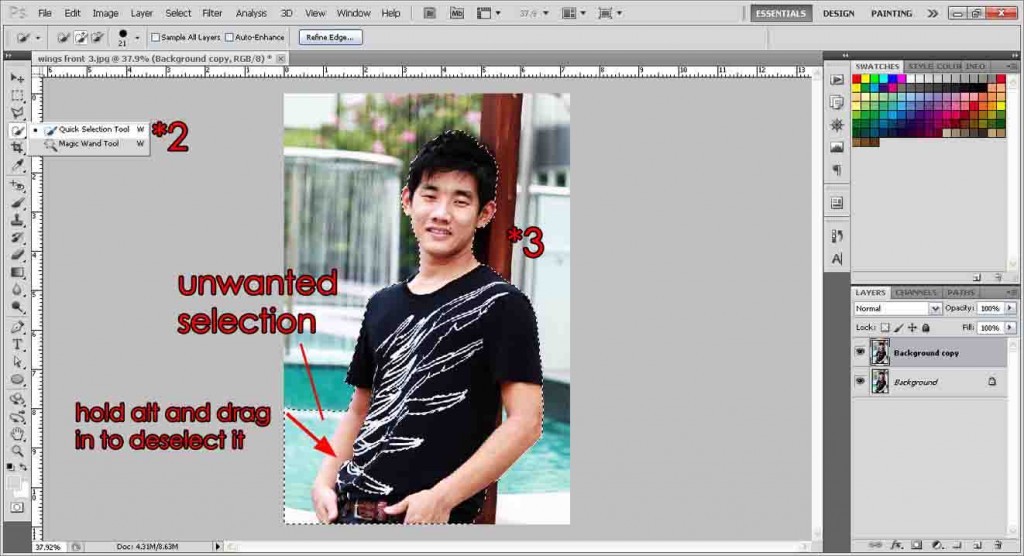
Select the quick selection tool and adjust the brush size. The smaller it is, the more precise your selection will be, but will also be harder to work with.
Step 3:
Draw an outline along the object you want to extract, which in this case, the handsome guy over there. Your tooltip should be showing a circle with a ‘plus’ sign inside. This means that it is adding a selection. If you hold alt, you will notice it changes to a ‘minus’ sign, meaning that it will deselect that area. So the idea is just draw around your object, and if the selection line goes out of track, hold alt and ‘pull’ the link back by outlining your object again. I’ve provided an example in the picture above on how the selection can run out of track and how to push it back.
Step 4:
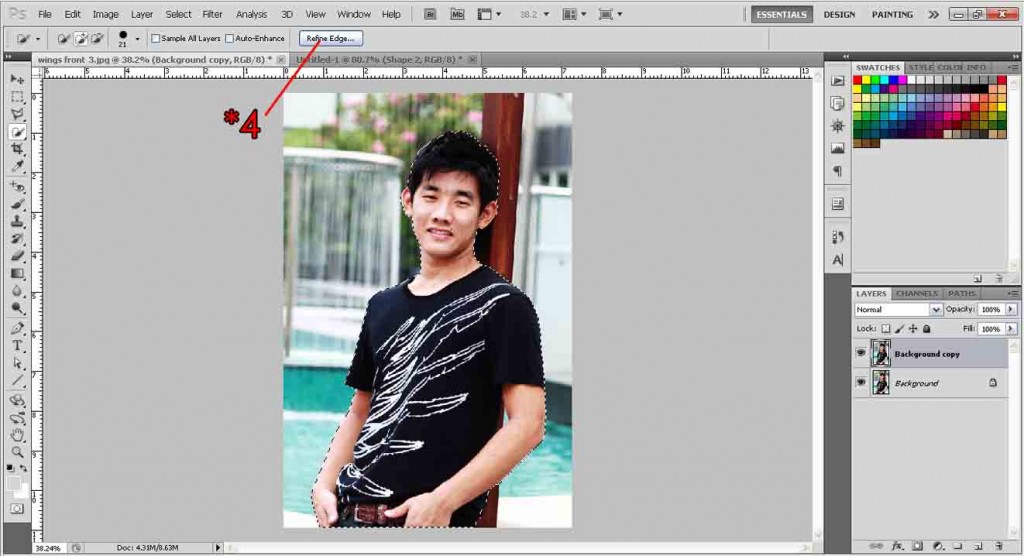
If you have done it correctly, you should see the object fully outlined accurately. Click refine edge to further refine it.
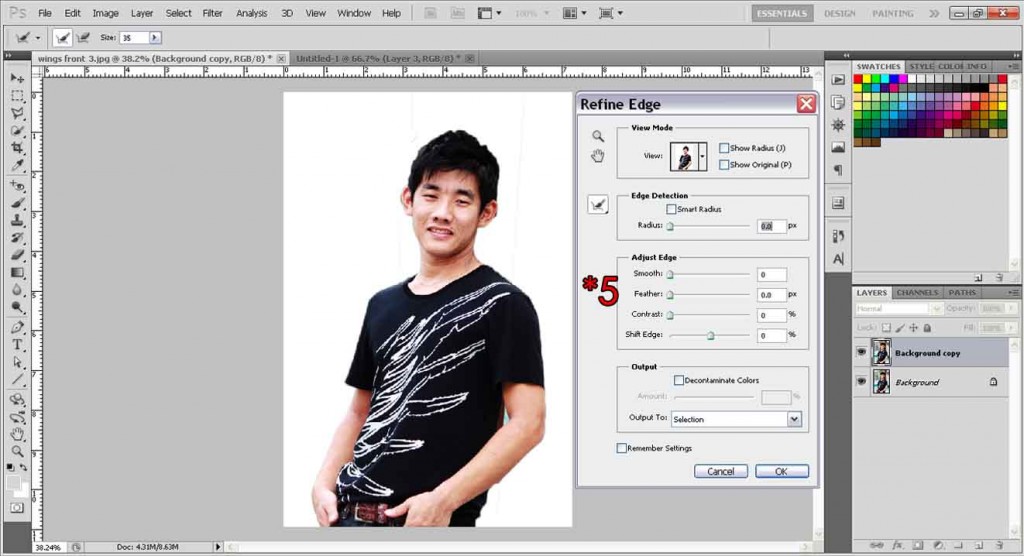
Step 5:
The refine edge box will appear. Adjust the settings according to your preference, just drag the sliders and play around with them, see what results you like best. Once done, hit OK.
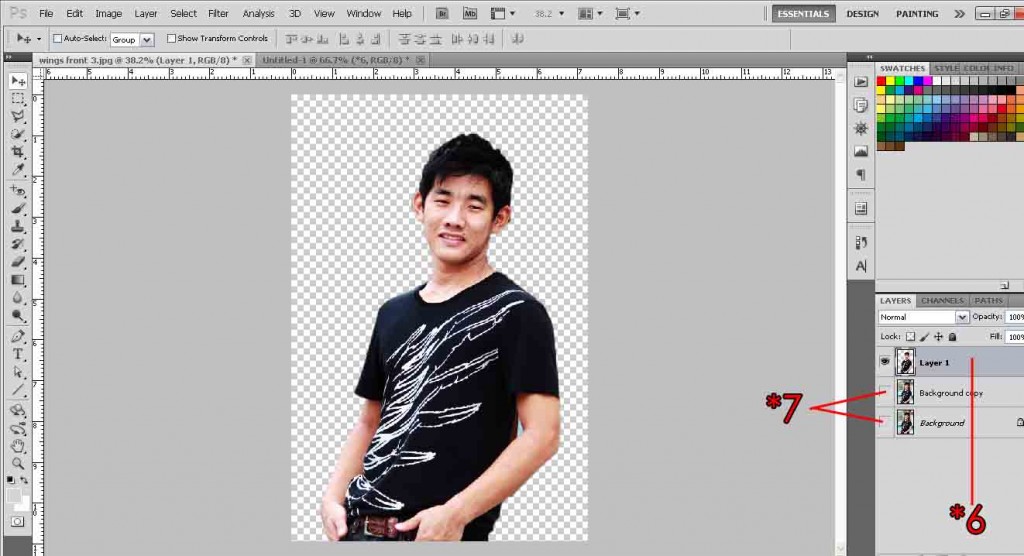
Step 6:
Press Ctrl+J or Cmd+J. This will copy your selection and paste it in a new layer. You should see your new layer at the top if you did it correctly.
Step 7:
Hide the original layers. You can now see your selection on a transparent background. However, depending on your photo, you might have to edit it a little bit more, erasing off some background parts. For our example, you can see there’s still abit of background within his left hand.
Step 8:
To delete that part, simply use the quick selection tool again, select that part and delete it off!
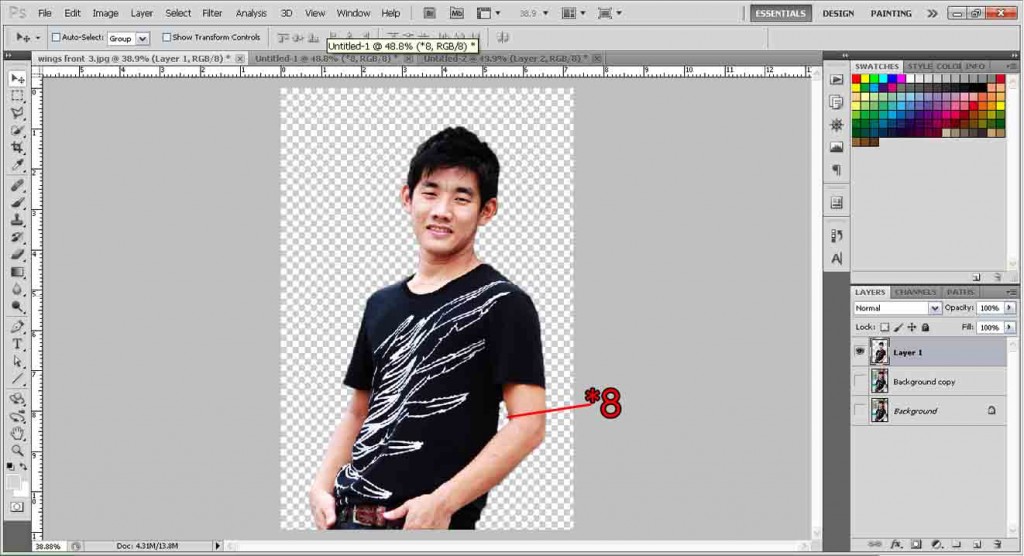
And there we have it, we have extracted our desired object from a photo. Now you can simply save it as an image (jpeg, or use png if you want the transparent background). Or simply drag the image to another photo that you want to put it on. And I’ll do just that!

For more info on outlining, click here.
Need Help With Photoshop or Looking for Professional Support?
Whether you're just getting started with Photoshop or need expert-level assistance, we're here to help! Contact us for personalized Photoshop tutorials, project support, or creative services.
Get in touch today to take your skills or projects to the next level.
CONTACT US NOW📘 Want to Master Photoshop Faster?
🎁 Get Your FREE PDF E-Book "Top 10 Photoshop Tricks Every Designer Must Know" Now – Packed with expert tips, shortcuts, and techniques to boost your creativity & workflow.
👉 Download Your FREE PDF E-Book NOW!

